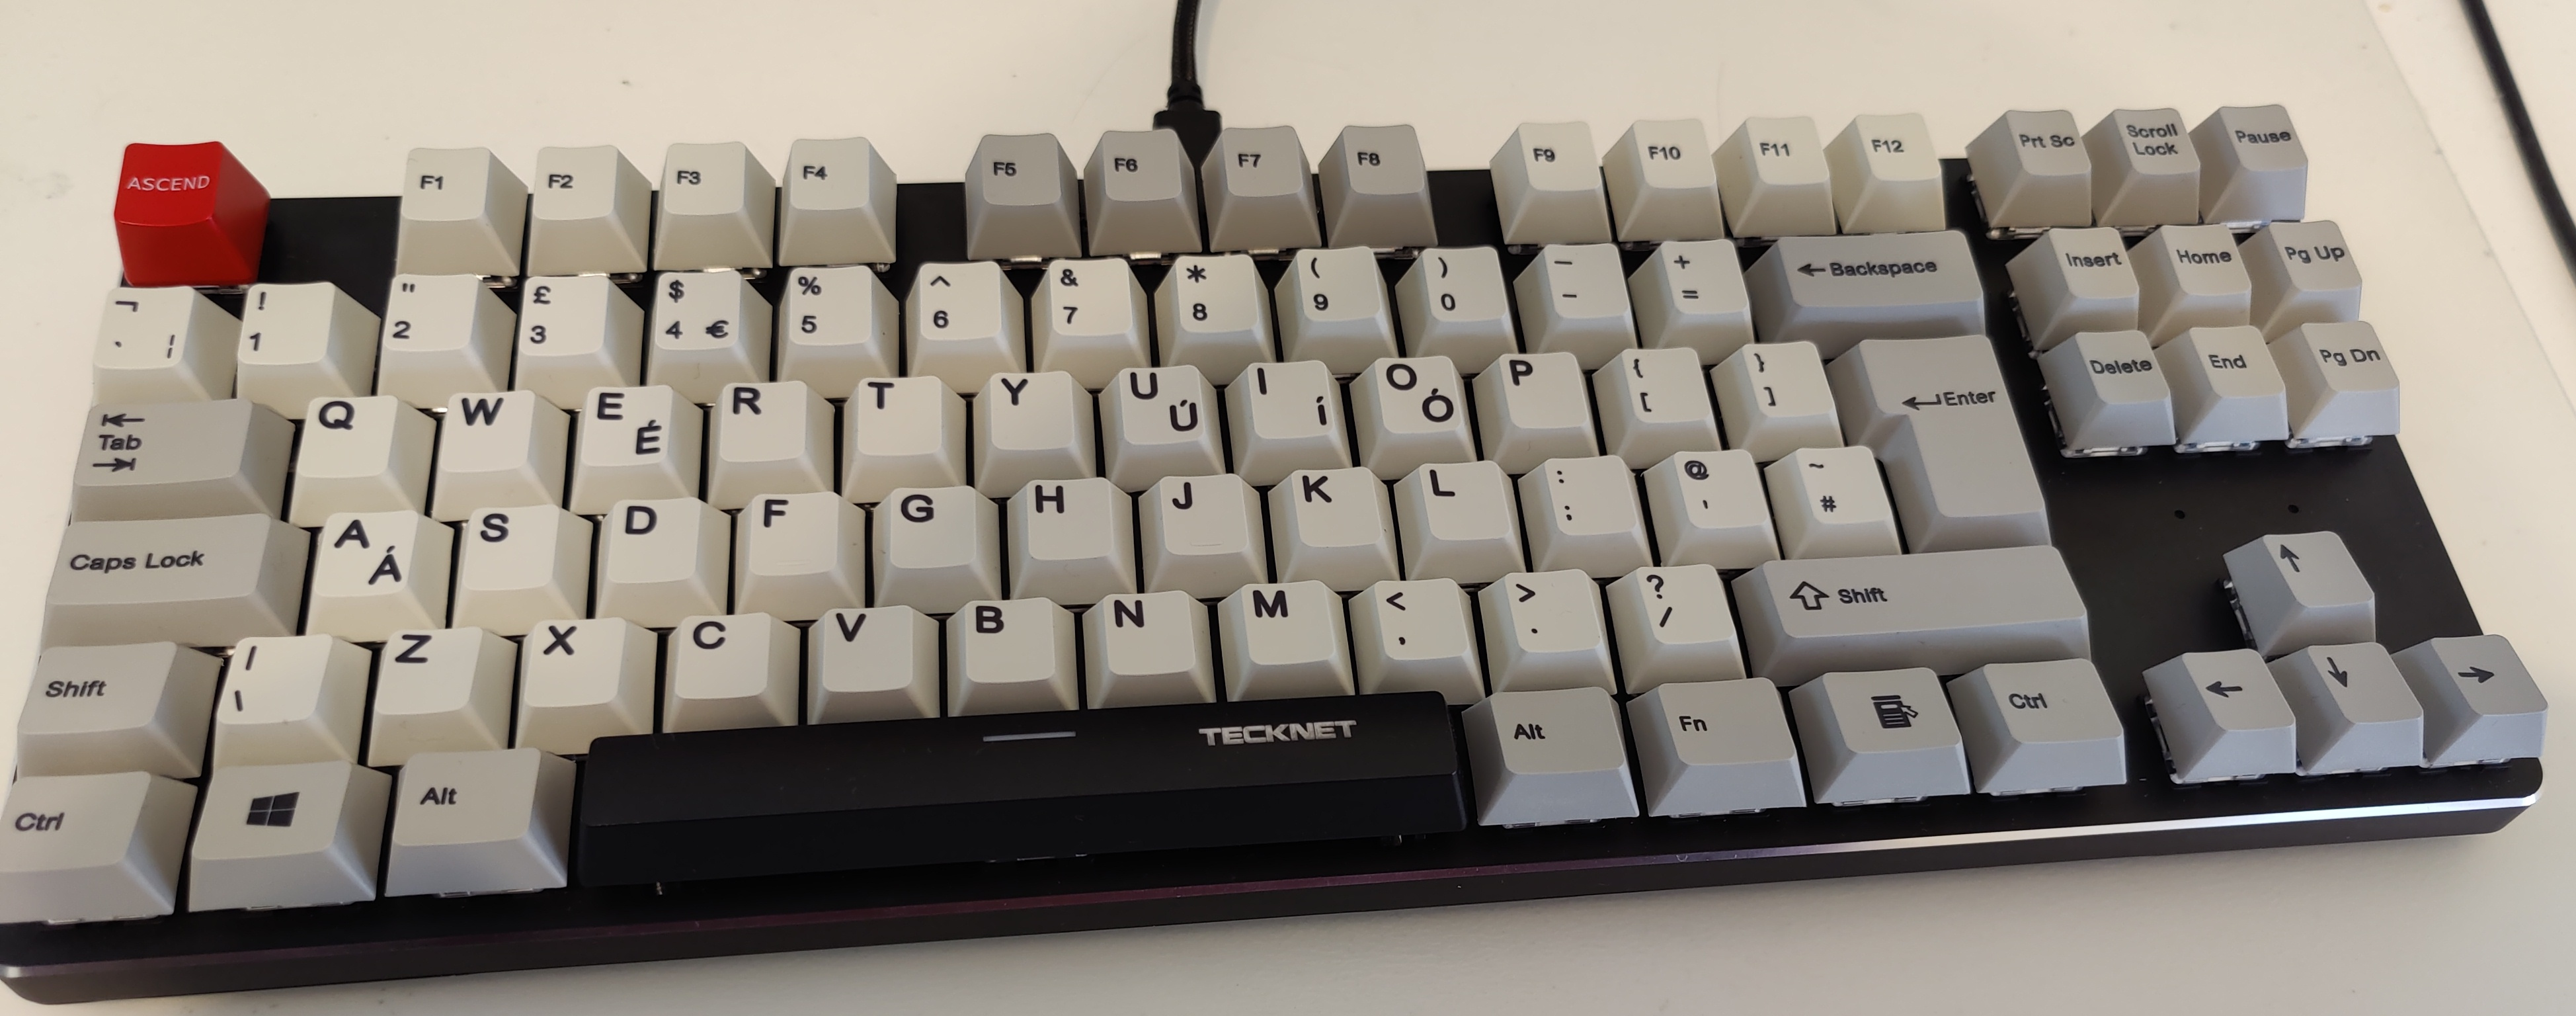
New Keyboard
06 Jul 2021Recently I received the final parts a new keyboard and I felt like sharing!
Previously I used a full sized QPad Gaming Pro Keyboard. It had fixed blue lights behind the keys and incredibly loud clicky blue switches in it. I am talking so loud that I had comments while I gamed years ago and during meetings in the past year and a half!
I tried to combat the noiseiness of my old keyboard with some simple silicon O rings under each key, this actually helped quite a lot but it was still incredibly noisy. So later I disassembled it and put some padding behind the PCB in the keyboard case. This reduced any thudding sounds I made but the keys still clicked super loud.
I was however content with this for quite some time. Then recently I opted to travel and work and needed something a little smaller to carry with me as I can’t stand using a laptop keyboard for extended periods of time. So, with a voucher I had been given for my birthday I bought a cheap “Tenkeyless” mechanical keyboard. That is a keyboard without the numpad.
This smaller, and lighter “travel” keyboard was even louder than my normal one and I made use of a tool called hushboard to selectively mute any microphones while typing in an attempt to work around the volume issue.
Unfortunately this keyboard died within 3 months of purchasing it, I guess that is the problem when purchasing something cheap. So whilst trying to solve the issues with it I bit the bullet and decided to “build” my own keyboard.
Build is a pretty loose word here as what I essentially did was order a hot-swappable mechanical keyboard PCB and case, the mechanical switches and keys to go with it. It took some time for the keys and switches to be shipped from China but I have finally built a much quieter and hopefully more comfortable keyboard to work with.

I opted to use brown switches, these are supposed to be the best for typing and noise. The keys (or keycaps) might look pretty plain but I quite like the old fashioned grey look. There are 2 keys that are unique, the space-bar and escape key. The space-bar comes from the broken keyboard currently as the one shipped to me fits too tightly on the switch and stabilisers. The escape key came with the keyboard itself and I like the idea of having a single red escape key.
The experience of building the keyboard was pretty simple. Clip in each switch into the correct slots, then put the keys on them. I had to reseat a few switches as in my excitement I had not seen that I had bent their contacts. But overall it took very little time.
The switches and keyboard does light up but this is hard to see without being in the dark and not something I am too concerned with.


Comments